Greetings, all you weirdos that follow my blog! The leaves have begun to turn and winter will soon be upon us. The days are noticeably shorter and the extremely dry grass has returned to a beautiful green after some of the Fall rain that has struck here in Oregon. That being said, we have some fall updates around the farm. First up are the bees.
The time for mite control operations has quickly come to an end. Your area may still have the temperatures necessary to utilize many of the varroa mite control treatments that are available, but here in Oregon, the temperatures will not likely be high enough until Spring hits again and we have already treated ours. That being the case, we are going to focus on keeping our bees fat, happy, and healthy throughout the next few months. At this time of year, the females in the hive are starting to shove those nasty freeloading males out the front door. It is not uncommon to see piles of bees near the entrance to your hives. Don’t worry. This is perfectly normal. We are still continuing to feed our bees with the fondant we make. They look like each hive is going through about a square of fondant a week (about 0.83 lbs). We generally use the fondant that we don’t sell for one reason or another (too sticky or too dry) to feed our bees. That way, we have a use for all of the times that the fondant doesn’t come out how we want it to look. Of course, the fondant is still good just not as visually appealing. Anyway, Michelle and I went out to the shop last night to build some quilt boxes to help remove the winter moisture from the hive. We rounded up some scrap wood, which ended up being ½ inch plywood from my wood shop remodel project. As long as the bees don’t have a particular aversion to the wood you are trying to use, any scrap wood should do for quilt box material. We started by trying to use some screws I had laying around, but they were splitting the plywood apart. I tried drilling pilot holes for them, but the screws were just too big. I ended up using one-inch ring shank siding nails with a small pilot hole. We made them fit directly on the hive and about 4 inches tall. We put two ¾ inch holes in the two sides (as opposed to the front and back) to allow for wind to push through the quilt box and dry out the absorbent material and carry away some of the moist air. I may have to make these holes bigger since they might get partially covered when I put the hive lid on. We are making our boxes slightly different than what I have found on the internet. The ones I have found have some kind of breathable material stretched over the bottom of the box and stapled. This basically leaves no room to put anything under the quilt box, which doesn’t work for me. We bought some ¼ inch hardware cloth and are going to staple it inside the quilt box to provide a small space where we can put fondant. On top of the hardware cloth, we will put a piece of gardening cloth (the kind that breathes but won’t let plants grow through it) which will allow the moist air to travel through it but won’t let the absorbent material fall through. I have seen people use burlap and canvas as well, but they didn’t have any canvas at Wilco and the burlap they had wasn’t tight enough weave. I figure, next spring, we can just throw away the absorbent material inside the quilt boxes and store the box itself for use next fall. Currently, we only have the box frame nailed together since we had to go buy the rest of the stuff (~$20 for 5 hives worth). I’m sure I could have put something together with what we had around the house, but I figured I might as well do it the way I want it done. We’ll get them the rest of the way put together this week. Tonight, I am trying to finish up the stuff I need to get done on my woodshed remodel. I want to get the roofer over to put a roof back on before the rain gets really bad and I am running out of time. The chickens have also begun to show their worth around the property.
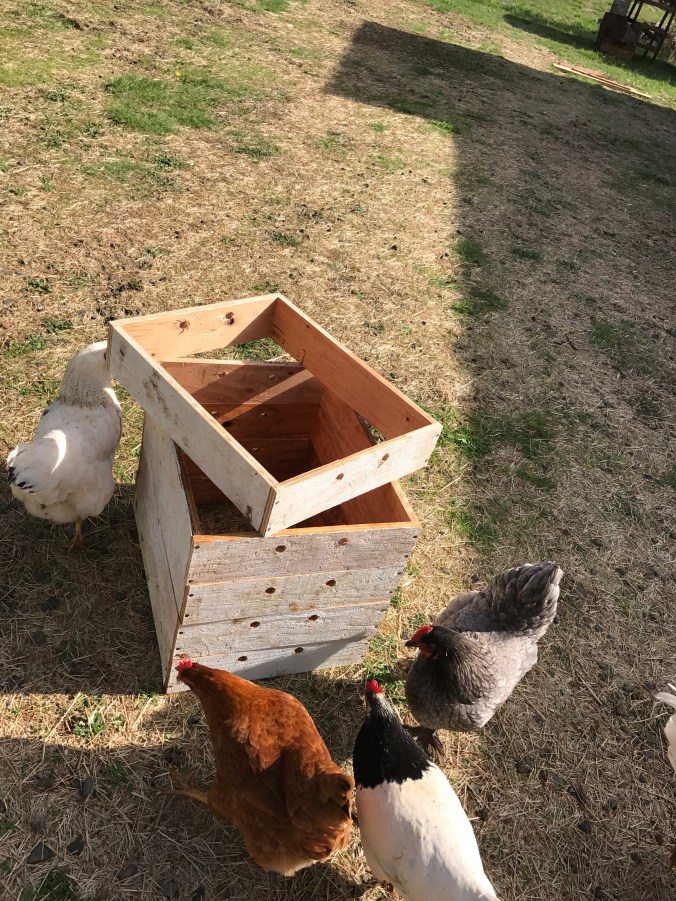
I know I mentioned it before, but there is a distinct lack of bugs on my house this year. I cannot say for certain that it is due to the chickens, but it seems pretty coincidental if it isn’t. I also had a wasp nest out in my south forest, which I was planning to knock down. I went out there the other night to knock it down and run like hell, but the chickens had torn it down and eaten everything inside it. It was a pleasant surprise. I never thought that they would do that, but I am really glad I didn’t have to risk getting a swarm of angry wasps after me. The chickens have blossomed into a full-fledged egg laying machine. They are currently laying between 9 and 11 eggs a day between the 13 hens. Last week, we gave away 3.5 dozen eggs to friends. I am thinking that it is time to start considering selling the eggs on our website for ~$4 a dozen on a first come first serve basis. The only reason I’m holding back is we would only be able to sell about 3 dozen a week right now. Anyway, if that interests you and you are in the Salem area, let me know. It is really neat to see the variety of colors and sizes of egg that those hens produce. We have 15 chicks in there, too. Once the chicks start laying, around February or March, we should start seeing about twice what we are getting now. We still feed the chickens natural foods, but the bulk of their diet is from scouring our 3 acres, and some of our poor neighbors whose yards they occasionally infiltrate, for whatever bugs they can drum up. I am working on putting up some fencing to make sure the chickens stay on our property, so if you are my neighbor and are reading this…I’m working on it. The rooster has finally found his voice and is crowing like a big boy. I harass him each night when I go out to shut the door to the hen house and count the chickens to make sure we haven’t lost any. I pick him up and rub him all over…just in case he thinks he wants to be the boss. It has started to work, though. He is not nearly as resistant to coming over to me when I am throwing the grain out for the hens to eat. He used to stay about 50 feet away when I would feed them. Now he is comfortable at around 5 feet. He is one of the best-looking roosters I have ever seen and has no spurs, so he doesn’t bother me as much as most roosters do. His crowing has gotten to the point where I barely notice it anymore, so I may just keep him in case I want some half-breed chickens. I don’t really care about chicken breeds, so as long as the resulting hens lay lots of big eggs, so he can mate with whichever hens will have him. There are a couple of hens that won’t let him near them. Of course, I laugh about his lack of swagger when they peck at him to shoo him away from them and he is trying to do a dance clearly meant to impress them. I have lovingly named him “Gaston” (from Beauty and the Beast) because he is very handsome but dumb as a box of rocks. We also have a name for another of the hens. She is mostly white with a black head. We have two of those which are the same breed, but one of them disappears and doesn’t come back to the hen house at night. She shows up early in the morning to eat and drink, then disappears again. I told Michelle she is “The Running Man”, so I named her “Ben Richards”. That makes the lineup of named chickens: Gaston (the rooster), Bessie (BIG and white with speckled black neck and feathered feet), Delilah (mostly white with some black speckles on her neck and non-feathered feet – pictured above), Road Runner (white with a light red paint), Copper (black with gold speckled chest), Po (all black), and Ben Richards (white with black head – her twin is pictured above). The chickens continue to be a source of endless entertainment for me when they aren’t running off and giving me a heart attack (especially if it is a named chicken). Then there are the rest of the projects that need to be done to prepare for winter.
I was planning on tilling last week, but when I went to put the tiller on the Kubota the joint that fastens the PTO drive to the tiller (which came with the tiller) had an issue. I saw that the little button you press to slide it onto the tractor was missing. That would be very bad to use. If that joint were to come loose going at a high rate of speed, the results could be catastrophic and life-threatening. The tiller, since I bought it new, came with a warranty, but evidently that warranty “doesn’t cover the drive train”. I am unclear about what it actually would cover, then, because a tiller is pretty much just one big drivetrain. At any rate, I need to take that part back over to them and see if they can fix it. I tried to go on Saturday, but they closed right before I got there at 1:30pm. I then headed over to get the parts I needed from another store on the other end of town, which I need to repair my John Deere lawn tractor (so I can suck up all the leaves with the bagger) and they were closed too, even though their website said they were open until 5. It was a pretty infuriating day. Once I get the tiller fixed, I am going to turn over the soil in the garden and cover it with plastic. Hopefully, it will allow the vegetation to mulch over the winter and prevent any unwanted plants from growing when we are ready to plant again. I am trying to finish making my woodshed watertight again, which it hasn’t been for many years before I bought the property. I have replaced all of the pieces that needed to be replaced and am down to putting the roof, doors, and windows back on. Hopefully, I will have the roof done within two weeks. At least then, I won’t have it continually getting wet inside. The last thing on my outside the house project list for right now is cleaning up the shop. Since the wedding, it has been filled with wedding stuff and other things that are strewn about. I need to get it back in order so I can get my blacksmith shop at a point where I can work in it again. The last thing I would say, for everyone, is to go look at my blog from this time way back. Winterizing your vehicles and house can save you a lot of money over the winter, so make sure and check it out. You never know what you might have forgotten to do. Feel free to tell me if there are any general winterizing tips that you have found to help. I’m sure the readers would appreciate the heads up.
I think that is all for now. It’s time to start looking forward to the holiday season (my favorite time of year). I hope everyone is ready for winter! Have a good day and I will catch you all later!
